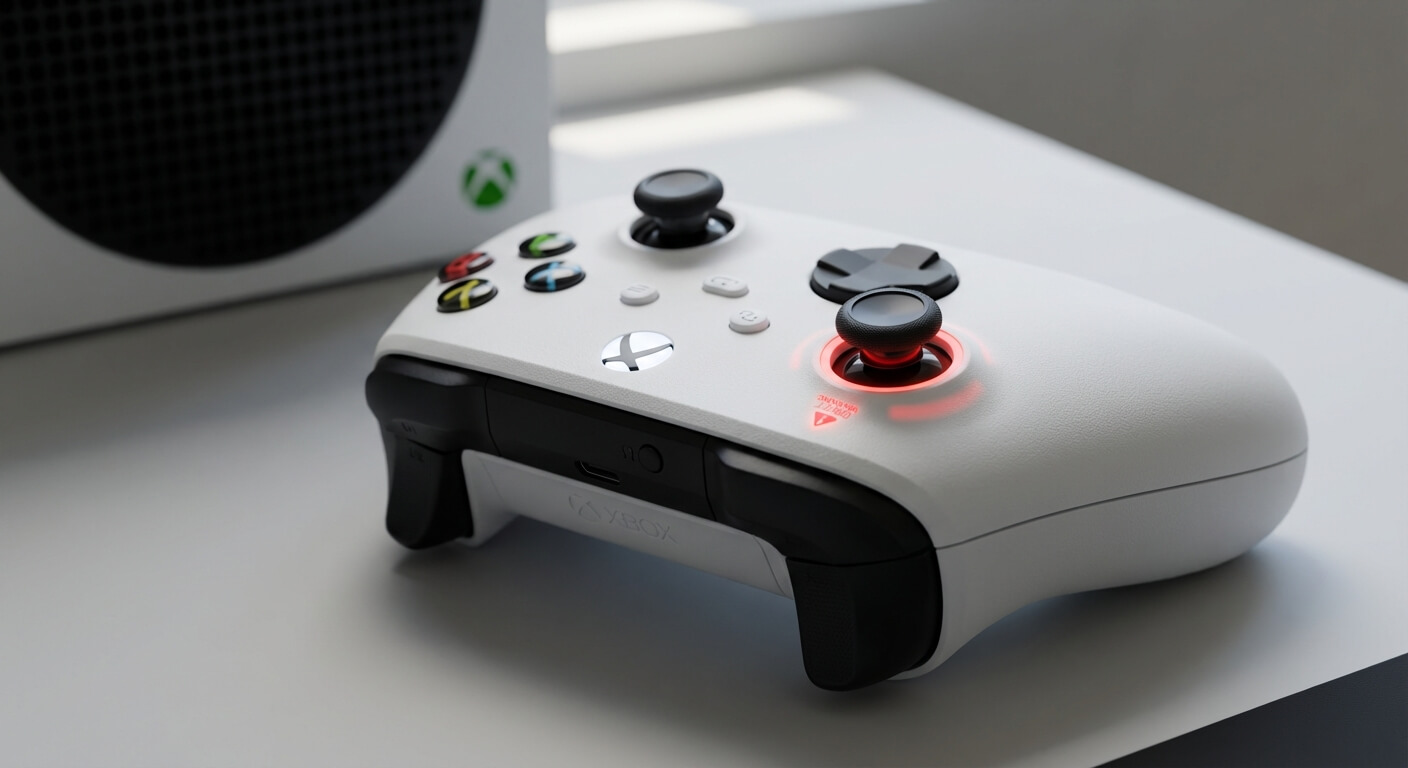
So your Xbox Series S controller has developed a mind of its own? Your character keeps wandering off cliffs, your aim is all over the place, and you’re pretty sure you didn’t tell your camera to spin like a broken carousel. Welcome to the frustrating world of stick drift.
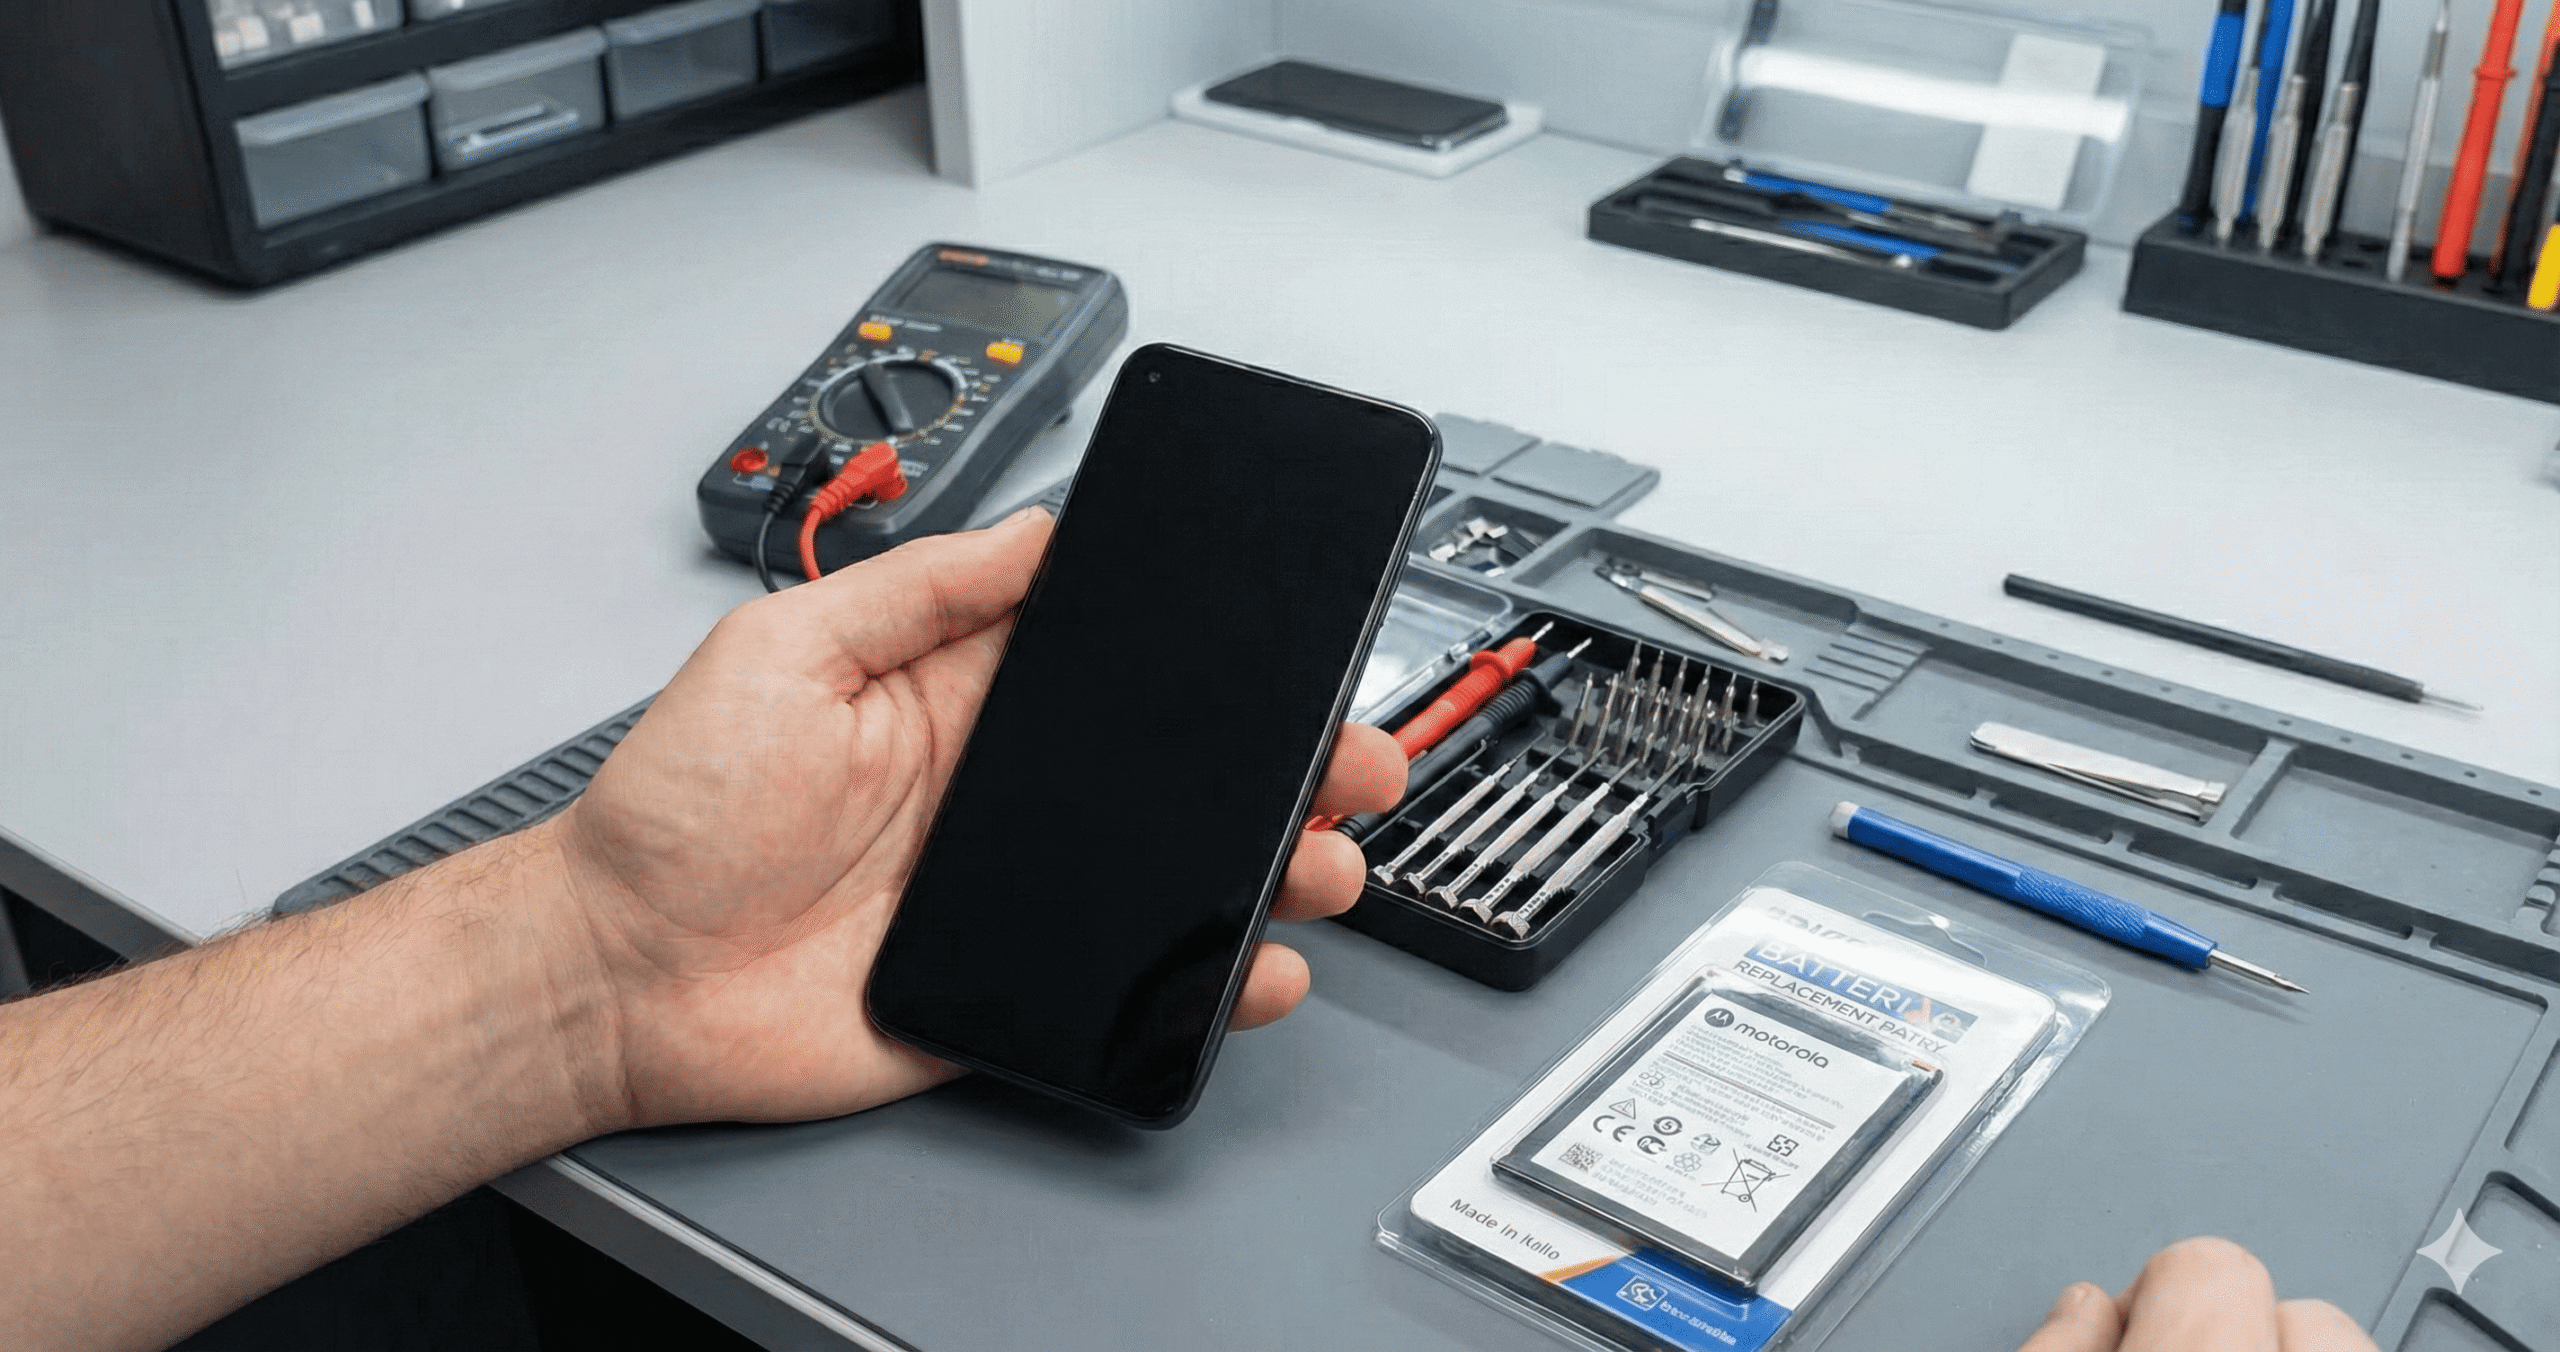
I’ve been fixing electronics for over 15 years here at Gizmo Pros, and controller stick drift is one of those issues that drives gamers absolutely nuts. But don’t worry, in many cases, you can fix it yourself before considering a replacement or professional repair. Let me walk you through exactly how to diagnose and fix stick drift on your Xbox Series S controller.
Understanding Xbox Series S Stick Drift
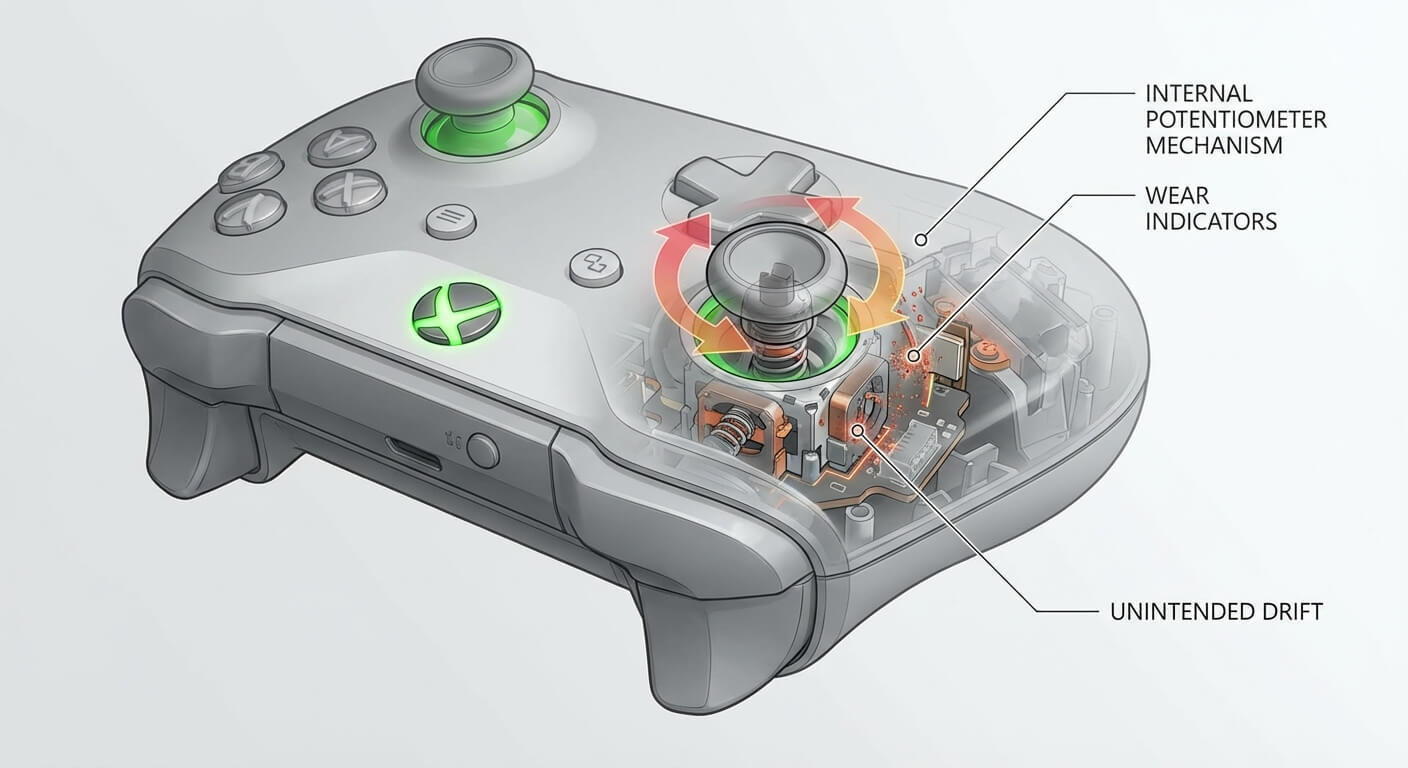
Stick drift happens when your controller’s analog stick registers movement even when you’re not touching it. This occurs due to wear on the potentiometers inside the joystick module – basically, the sensors that detect stick position start sending incorrect signals to your console.
Common symptoms include:
- Character or camera movement without input
- Difficulty aiming or staying still in games
- Menu selections drifting on their own
- Inconsistent or delayed response when moving the stick
The Xbox Series S uses the same controller as the Xbox Series X, which unfortunately means it’s susceptible to the same drift issues that have plagued modern controllers across all platforms.
Quick Diagnosis: Is It Really Stick Drift?
Before diving into repairs, let’s confirm you’re actually dealing with stick drift:
Test your controller:
- Press the Xbox button and navigate to Profile & system > Settings > Devices & connections > Accessories
- Select your controller and choose “Test” under the analog stick settings
- Watch the crosshair – if it moves without touching the sticks, you’ve got drift
You can also check in-game by opening your map or inventory screen and seeing if the cursor moves on its own.
DIY Guide: How to Fix Xbox Series S Stick Drift

Solution 1: Clean Around the Stick Module
Dust and debris are surprisingly common culprits. Before you grab a screwdriver, try this:
What you’ll need:
- Isopropyl alcohol (90% or higher)
- Cotton swabs
- Compressed air (optional)
Steps:
- Power off your controller completely
- Dip a cotton swab in isopropyl alcohol and squeeze out excess liquid
- Gently work the swab around the base of the analog stick, rotating the stick as you clean
- If you have compressed air, use short bursts around the stick base while rotating it through its full range of motion
- Let it dry for 10-15 minutes before testing
This method works about 30% of the time in my experience – it’s worth trying before more invasive fixes.
Solution 2: Update Your Controller Firmware
Outdated firmware can sometimes cause erratic behavior that mimics drift:
- Connect your controller to your Xbox Series S with a USB cable
- Press the Xbox button > Profile & system > Settings > Devices & connections > Accessories
- Select your controller and choose “Firmware version”
- If an update is available, install it and test afterward
Solution 3: Recalibrate the Controller
The Xbox Accessories app can help recalibrate your sticks:
- Download the Xbox Accessories app from the Microsoft Store
- Connect your controller via USB
- Select your controller in the app
- Go to Configure > Edit > Adjust the stick calibration settings
- Follow the on-screen prompts to recalibrate
Solution 4: Contact Cleaning (Intermediate)
This requires opening your controller but doesn’t involve soldering. You’ll need a T6 and T8 Torx screwdriver set.
Steps:
- Remove the battery pack and peel off the sticker in the battery compartment
- Remove all five screws (including the one under the sticker)
- Carefully separate the controller halves – watch for the ribbon cable connecting them
- Locate the affected analog stick module
- Spray contact cleaner (like DeoxIT) into the small gap around the stick’s base
- Rotate the stick through its full range of motion several times
- Let it dry for 20 minutes, then reassemble
🚨 Important: If you’re not comfortable opening electronics, or if your controller is still under warranty, skip this step. And speaking of repairs, if your console itself needs attention, check out our guide on Xbox Series S repair costs to understand what professional fixes might run you.
Solution 5: Replace the Analog Stick Module (Advanced)
If cleaning doesn’t work, the potentiometers are likely worn out and need replacement. This requires soldering skills.
What you’ll need:
- Replacement analog stick module (available on Amazon or electronics supply sites)
- Soldering iron and solder
- Desoldering pump or wick
- T6 and T8 Torx screwdrivers
The process:
- Open the controller as described above
- Disconnect the rumble motors and carefully remove the motherboard
- Desolder the existing stick module (it has 10-12 connection points)
- Clean the solder pads
- Position the new module and solder it in place
- Reassemble and test
I won’t sugarcoat this – it’s a delicate job. One slip with the soldering iron can damage the motherboard’s traces. If you’re not experienced with electronics repair, this is where professional help makes sense.
Software Workarounds
While you’re deciding on a repair approach, you can reduce the impact of drift:
Adjust deadzones in-game: Many games let you increase the “deadzone” – the amount of stick movement the game ignores before registering input. Look for this in your game’s control settings.
Use button remapping: If one stick has severe drift, you might be able to swap stick functions in games that support it, moving critical functions to the working stick.
When Stick Drift Means Deeper Problems
Occasionally, stick drift is a symptom of larger issues:
Liquid damage: Even small amounts of liquid can corrode contacts. If you’ve spilled anything on your controller, the internal damage might be more extensive than just the stick module.
Physical impact: A dropped controller might have cracked solder joints or damaged traces that affect multiple components.
📖 Readers Also Liked: Here’s why your Xbox Series S keeps overheating (& how to fix it)
Controller Replacement vs. Repair
Let’s talk economics. A new Xbox Series S controller costs around $60. If you’re not comfortable with DIY repairs:
When to repair:
- Your controller is less than a year old and still under warranty (contact Microsoft)
- You have multiple controllers with issues
- The drift is mild and cleaning might fix it
- You’re comfortable with basic disassembly
When to replace:
- Multiple buttons or features aren’t working
- The controller has obvious physical damage
- You’ve tried cleaning and it didn’t help
- The cost of replacement parts plus your time exceeds $60
Professional Repair Services
At Gizmo Pros in Wesley Chapel and Holiday, we handle controller repairs regularly. Our technicians can diagnose the exact issue, replace worn components, and have you back to gaming typically within the same day. We also offer a 90-day warranty on all repairs, which beats taking a chance on a DIY fix that might not hold up.
Controller repair runs significantly less than buying new, and unlike DIY fixes, you’re not risking further damage if something goes wrong during the repair process.
The Bottom Line
Stick drift is annoying, but it’s usually fixable. Start with the simple cleaning methods – they work more often than you’d think. If you’re technically inclined and have the tools, opening the controller for a deeper clean is the next logical step.
For those who’d rather not risk turning their controller into an expensive paperweight, professional repair is a smart middle ground between struggling with drift and buying a new controller. We work on electronics all day, every day, so we’ve seen every variation of stick drift imaginable – and we know exactly how to fix each one.
Whether you go the DIY route or bring it to us, don’t just live with stick drift. Your K/D ratio will thank you.