After 15 years of wrestling with stubborn electronics at Gizmo Pros, I’ve narrowed down the causes of Lenovo Yoga touchscreen failures to a handful of common culprits. Let’s walk through them step by step, starting with the easiest fixes and working our way up.
Reasons Your Lenovo Yoga Touch Screen Is Not Working
Before diving into fixes, it helps to understand why your touchscreen went on strike. The cause typically falls into one of these categories:
Driver Issues: This is the most common culprit, especially after Windows updates. The HID-compliant touch screen driver can become corrupted, disabled, or simply incompatible with a recent system change.
Windows Update Conflicts: Microsoft updates are notorious for breaking touchscreen functionality on Lenovo Yoga laptops. Many users report their touch stopped working immediately after installing Windows 11 or a major Windows 10 update.
Power Management Settings: Windows sometimes disables the touchscreen to save power. This can happen without warning and leave you confused about why touch suddenly stopped.
Hardware Connection Problems: The ribbon cable connecting your touchscreen digitizer to the motherboard can become loose, especially if you frequently flip your Yoga between tablet and laptop modes.
Physical Damage: Cracks, impact damage, or liquid exposure can all disable touch functionality while leaving the display itself working normally.
Quick Fixes to Try First
Before getting into deeper troubleshooting, try these quick solutions that resolve the issue for many users:
Restart Your Laptop
Yes, really. A simple restart clears out temporary software glitches that can disable touch input. Hold the power button for 15 seconds to force a complete shutdown, then power back on.
Check for Accidental Disable
Some Lenovo Yoga models have a function key combination that disables the touchscreen. Press Fn + F6 (or check your specific model’s manual) to see if touch was accidentally toggled off.
Disconnect All Peripherals
External USB devices—especially mice, keyboards, and drawing tablets—can interfere with touchscreen drivers. Unplug everything, restart, and test the touchscreen before reconnecting devices.
How to Fix Lenovo Yoga Touchscreen via Device Manager
If the quick fixes didn’t work, your next stop is Device Manager. This is where you’ll find the touchscreen driver and can troubleshoot driver-related problems.
Disable and Re-enable the HID-Compliant Touch Screen
This simple trick works surprisingly often:
- Right-click the Start button and select Device Manager
- Expand Human Interface Devices
- Find HID-compliant touch screen (there may be more than one)
- Right-click it and select Disable device
- Wait 10 seconds
- Right-click again and select Enable device
- Test your touchscreen
Check If the Driver Is Missing
If you don’t see “HID-compliant touch screen” listed under Human Interface Devices, your driver is missing. Click View in the Device Manager menu and select Show hidden devices. If it appears grayed out, the hardware isn’t being detected properly.
Uninstall and Reinstall the Driver
For a deeper reset:
- In Device Manager, right-click HID-compliant touch screen
- Select Uninstall device
- Check the box that says “Delete the driver software for this device”
- Restart your computer
- Windows should automatically reinstall the driver on reboot
If Windows doesn’t reinstall the driver automatically, download it directly from the Lenovo Support website for your specific Yoga model.
Roll Back a Recent Windows Update
Did your touchscreen stop working right after a Windows update? You can uninstall the problematic update:
- Open Settings (Windows + I)
- Go to Windows Update > Update history
- Click Uninstall updates
- Find the most recent update (look at the installation date)
- Right-click it and select Uninstall
- Restart your computer
After rolling back, you can pause updates temporarily to prevent Windows from immediately reinstalling the same update.
Use Lenovo Vantage for Driver Updates
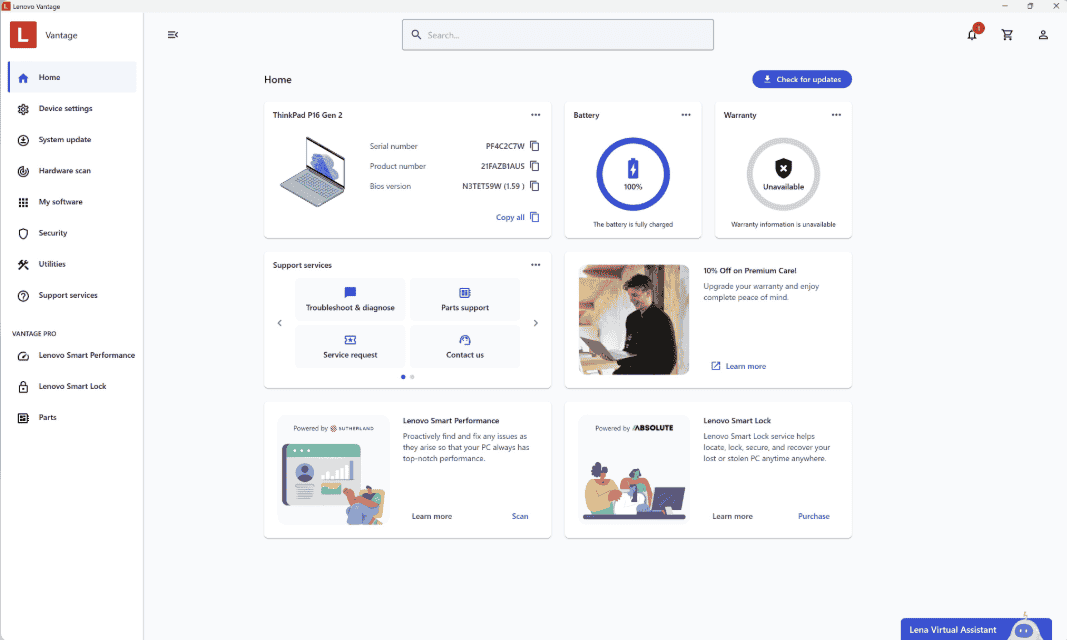
Lenovo Vantage is your best friend for keeping drivers current. Unlike Windows Update, it’s specifically designed to find the right drivers for your exact Lenovo model:
- Download Lenovo Vantage from the Microsoft Store if you don’t have it
- Open the app and go to Device > System Update
- Click Check for updates
- Install any available touchscreen or input device drivers
- Restart your laptop
Lenovo Vantage often finds touchscreen-specific firmware updates that Windows Update misses entirely.
Advanced Troubleshooting
If the standard driver fixes haven’t restored your touchscreen, it’s time to dig deeper.
Check Power Management Settings
Windows may have disabled your touchscreen to save power:
- Open Device Manager
- Expand Human Interface Devices
- Right-click HID-compliant touch screen and select Properties
- Go to the Power Management tab
- Uncheck “Allow the computer to turn off this device to save power”
- Click OK and restart
This setting can also affect the I2C HID device, so check that one too while you’re at it.
Run the Hardware Troubleshooter
Windows has a built-in troubleshooter for hardware issues:
- Press Windows + R and type
msdt.exe -id DeviceDiagnostic - Press Enter
- Click Next and let the troubleshooter scan
- Apply any recommended fixes
Check BIOS Settings
On some Lenovo Yoga models, the touchscreen can be disabled at the BIOS level:
- Restart your laptop and press F2 repeatedly as it boots
- Navigate to the Advanced or Peripherals section
- Look for any touchscreen or HID device options
- Ensure they’re set to Enabled
- Save and exit
Perform a Power Drain Reset
This clears any residual electrical charge that might be causing hardware detection issues:
- Shut down your laptop completely
- Unplug the charger
- If your battery is removable, remove it
- Hold the power button for 30 seconds
- Reconnect power and boot up
📦 Can’t Visit Us In Person?
No problem! Our mail-in repair service lets you ship your device to us from anywhere. We’ll diagnose, fix, and return it within 2-4 business days with free standard shipping. Need it faster? Next-day delivery is available.
When It’s a Hardware Problem
If you’ve exhausted all software solutions, you’re likely dealing with a hardware issue. Common hardware causes include:
Loose Digitizer Cable: The flex cable connecting the touchscreen digitizer to the motherboard can work loose over time, especially with the constant hinge movement of a 2-in-1 device.
Damaged Digitizer: Physical impact can damage the touch-sensitive layer of your screen while leaving the display itself functional. If your screen has any cracks or signs of impact, this is a likely culprit.
Motherboard Issues: In rare cases, the I2C controller on the motherboard can fail, preventing communication between the touchscreen and the system.
Opening a Lenovo Yoga to check cable connections requires specialized tools and experience. If your touchscreen problem points to hardware, it’s time to consult a professional.
If you’re wondering whether repair or replacement makes more sense, check out our guide on the cost of fixing a laptop screen to help make that decision. And if repair costs seem prohibitive, you might be surprised to learn that you can still sell a broken laptop for parts or refurbishment.
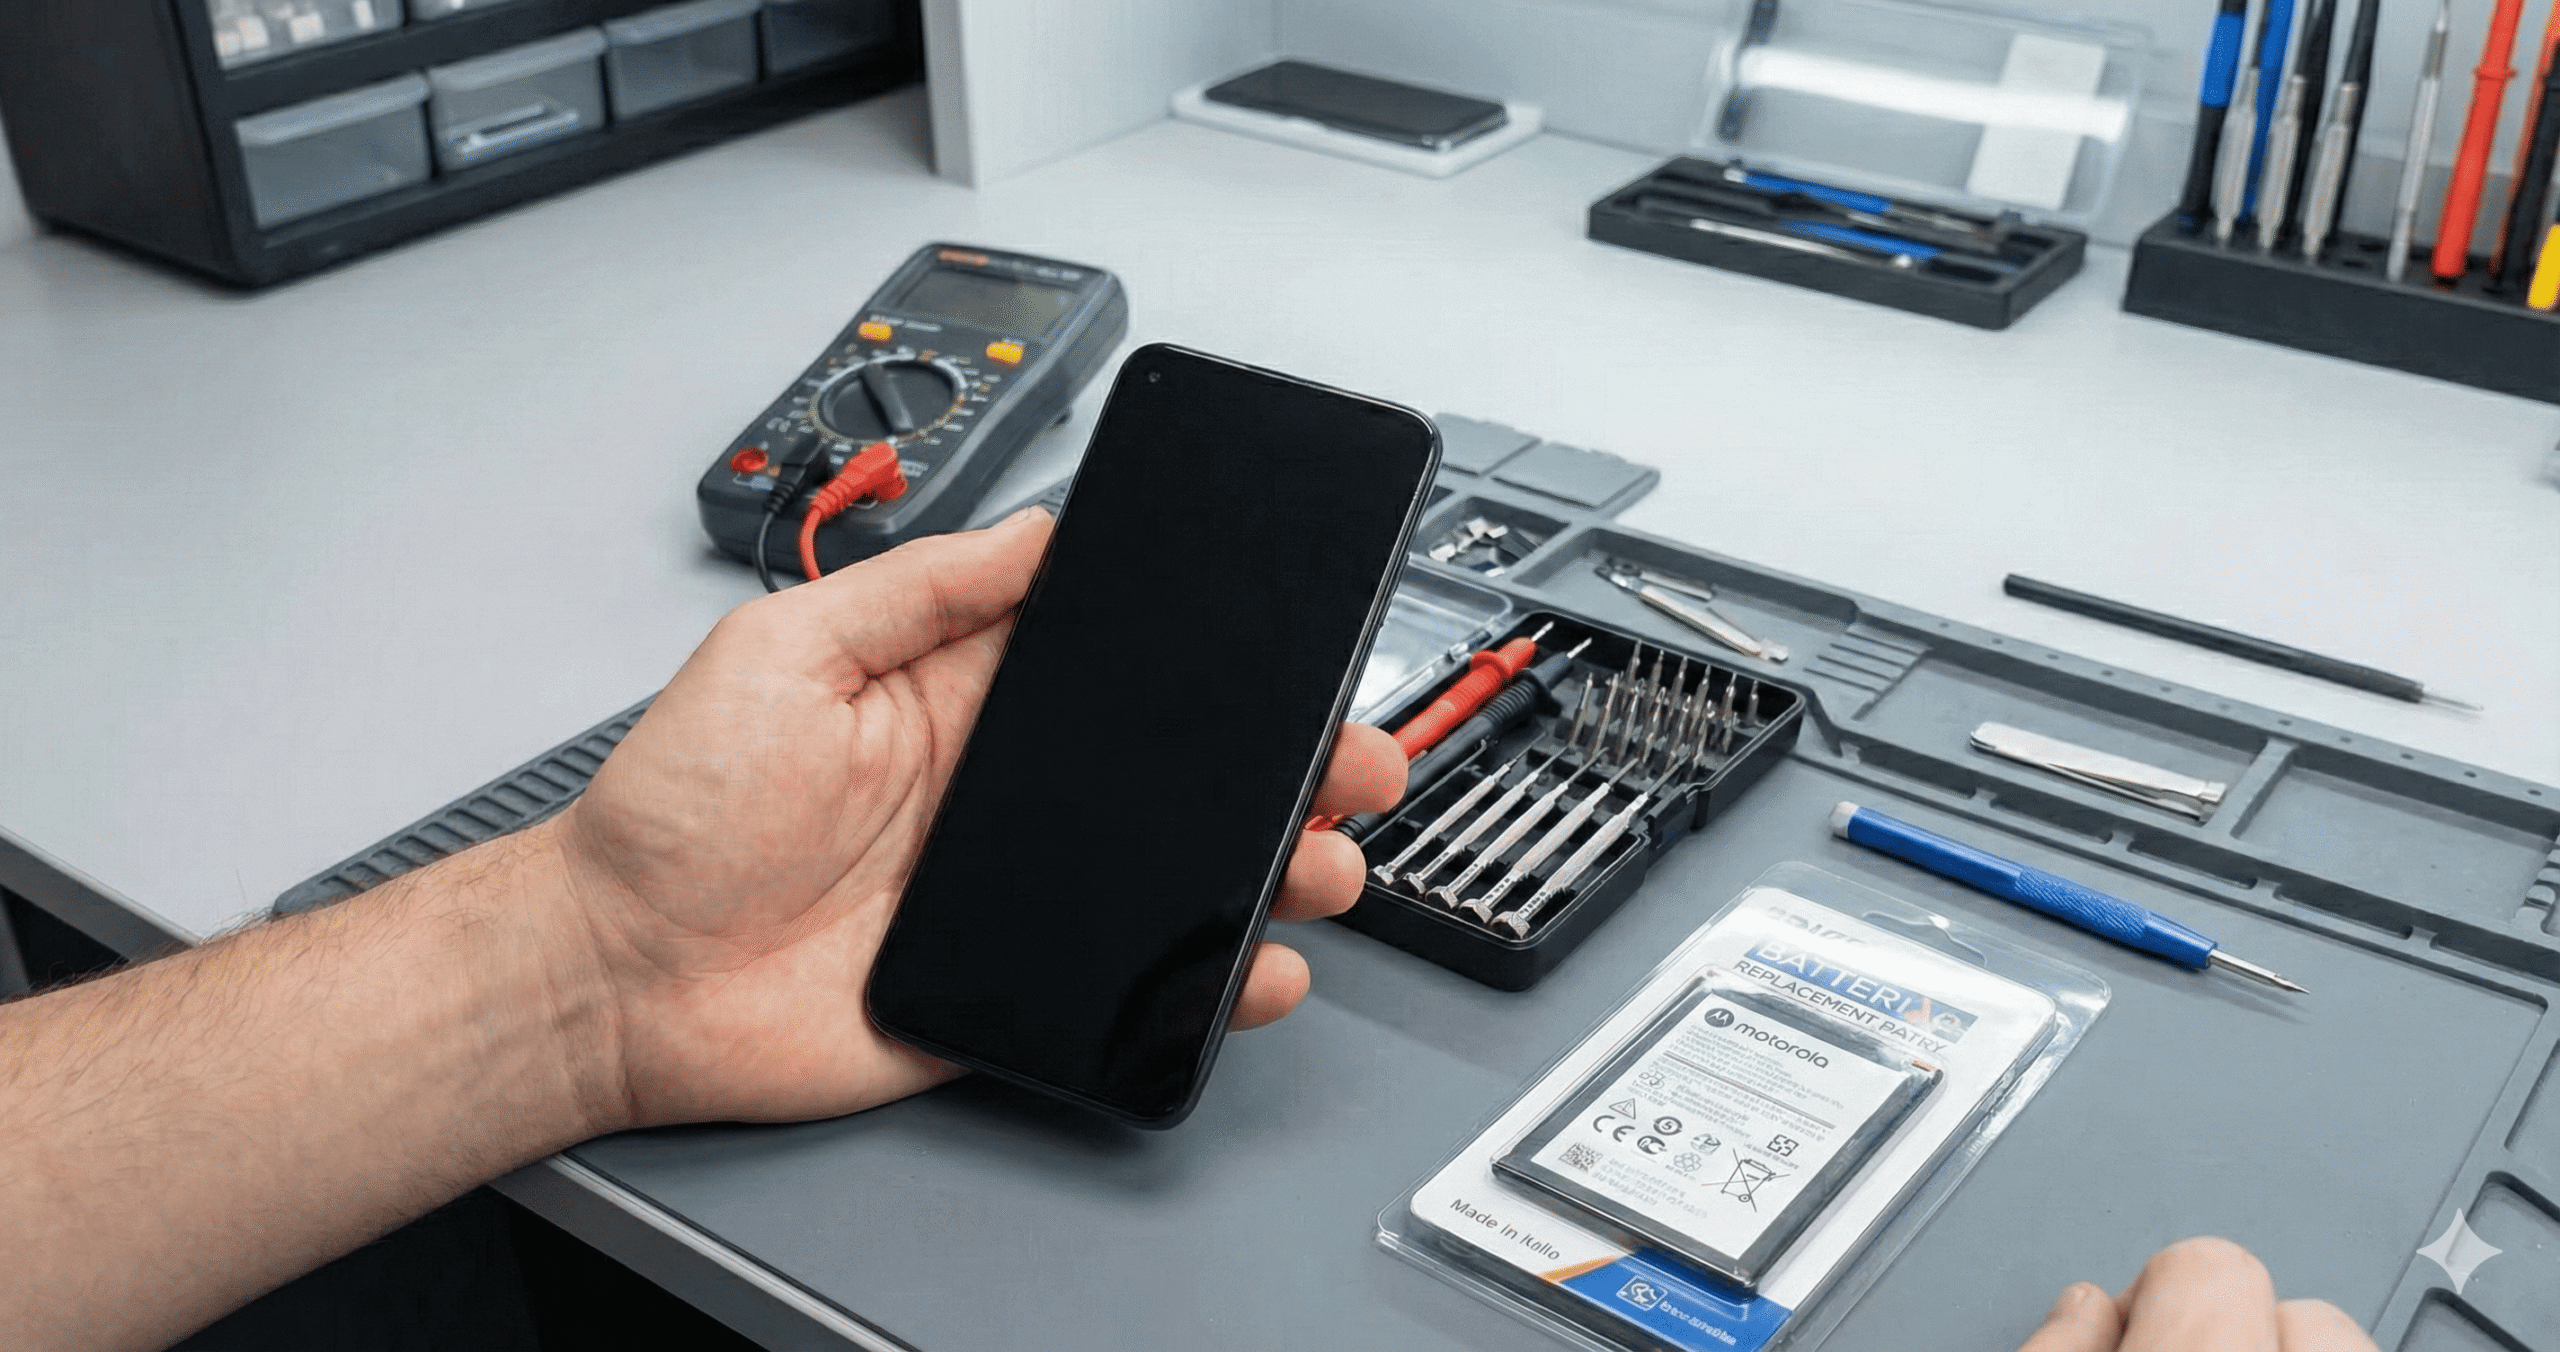
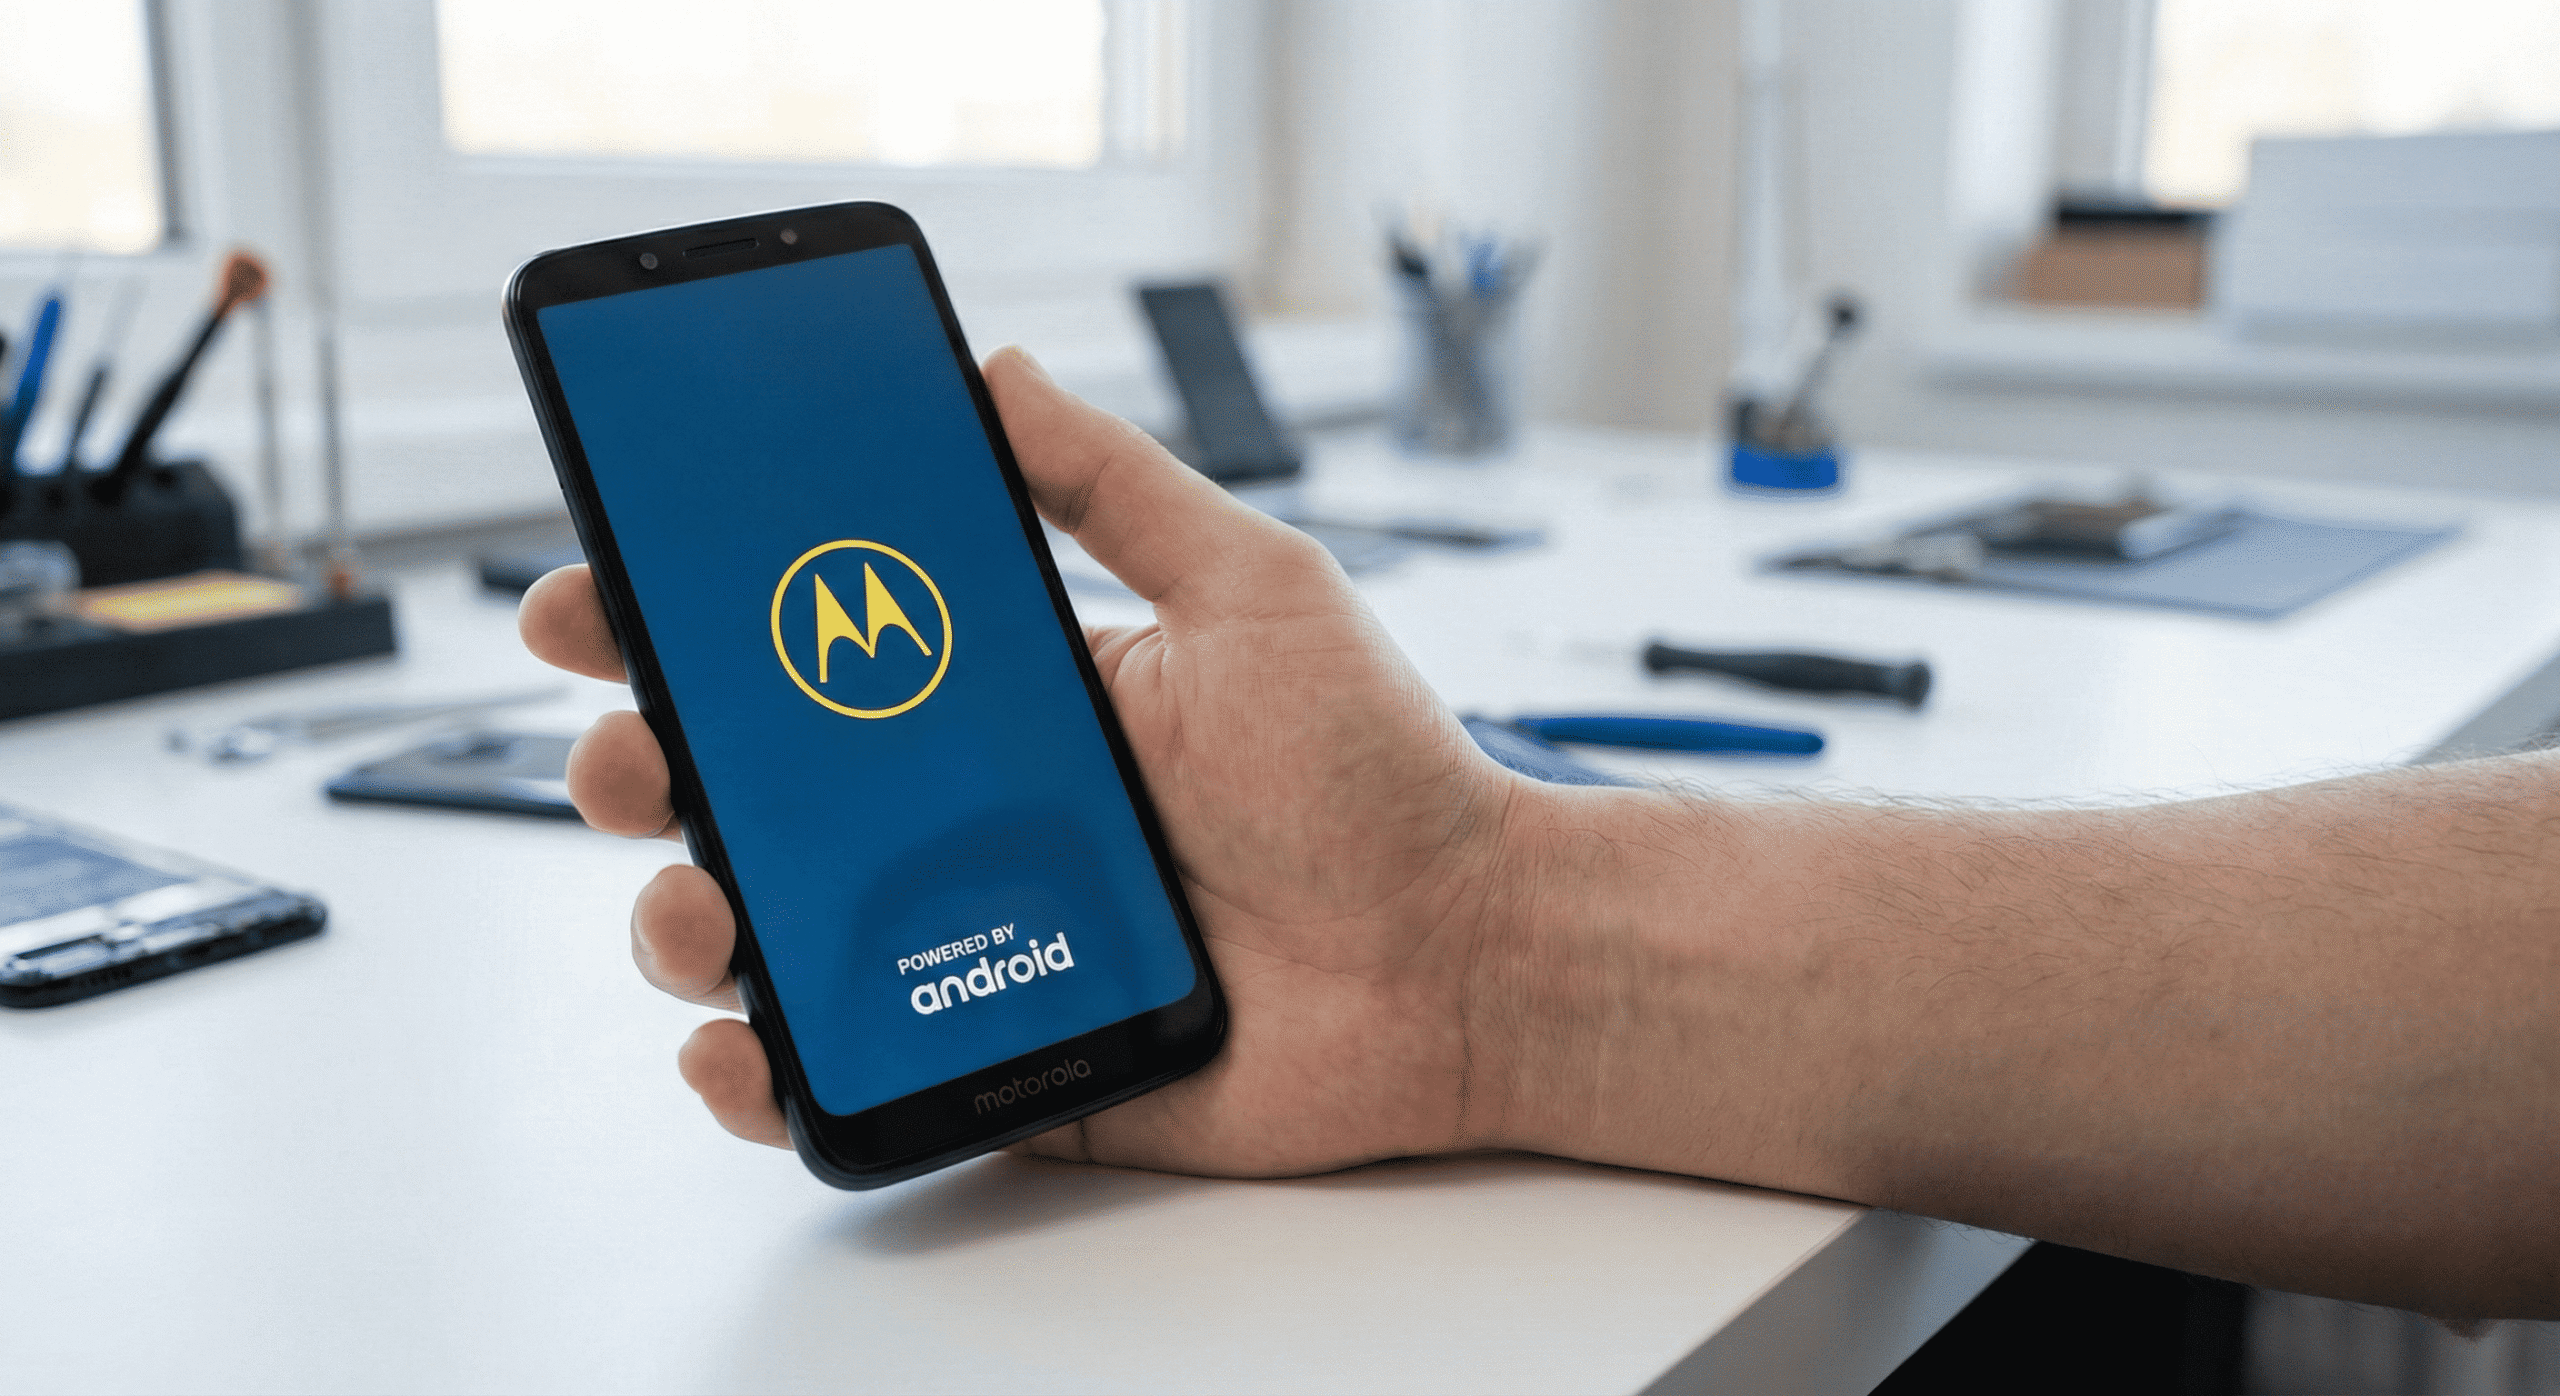
My Motorola Phone Won’t Turn On Either?
It’s oddly common for device failures to come in pairs. If you’re also dealing with a Motorola phone that won’t turn on, it could be showing a blinking white light—a symptom often called the “Motorola white light of death.”
This typically means your phone is stuck in a boot loop or has critically low battery. Here’s a quick troubleshooting approach:
- Charge properly first: Use an official Motorola charger and leave it connected for at least 30 minutes before attempting to power on
- Force restart: Press and hold the Power button and Volume Down button simultaneously for 15-20 seconds
- Boot into recovery mode: With the phone off, hold Volume Down and Power until you see the boot options menu, then select “Recovery mode”
- Clear cache partition: In recovery mode, use the volume buttons to navigate to “Wipe cache partition” and select it with the Power button
If your Motorola still won’t respond, the battery may be too depleted for the charging circuit to activate. In some cases, leaving it plugged in for several hours can provide enough trickle charge to bring it back to life.
For more detailed Motorola troubleshooting, including advanced solutions like using the Motorola Rescue and Smart Assistant tool, check out our complete guide on Motorola phones blinking white light and not turning on.
When to Get Professional Help
Some problems are just beyond DIY territory. Consider professional repair if:
- You’ve tried all troubleshooting steps with no improvement
- Your laptop shows physical damage near the screen or hinges
- The touchscreen works intermittently (often indicates a loose cable)
- Device Manager shows the touchscreen as “Unknown Device”
- You’re not comfortable opening your laptop to check internal connections
At Gizmo Pros, our technicians see Lenovo Yoga touchscreen issues regularly at our Wesley Chapel, Holiday, and Hudson locations. We can diagnose whether you’re dealing with a simple driver issue, a loose cable, or a digitizer that needs replacement—and give you an honest assessment of repair costs versus replacement.
All our repairs come with a 90-day warranty against defects, and we’ll match any local competitor’s published price and beat it by $10. With over 550 positive Google reviews, we’ve built our reputation on getting repairs right the first time.
For general laptop issues, overheating, performance problems, and more, check out our full computer repair services.
Visit Our Repair Centers
📍 Holiday & Tarpon Springs
📍 Wesley Chapel
📍 Hudson
Frequently Asked Questions
Why did my Lenovo Yoga touchscreen stop working after a Windows update?
Windows updates frequently replace or modify touch screen drivers. Sometimes the new driver is incompatible with your specific hardware, or the update process corrupts the existing driver. Rolling back the update or reinstalling drivers from Lenovo Vantage usually fixes this.
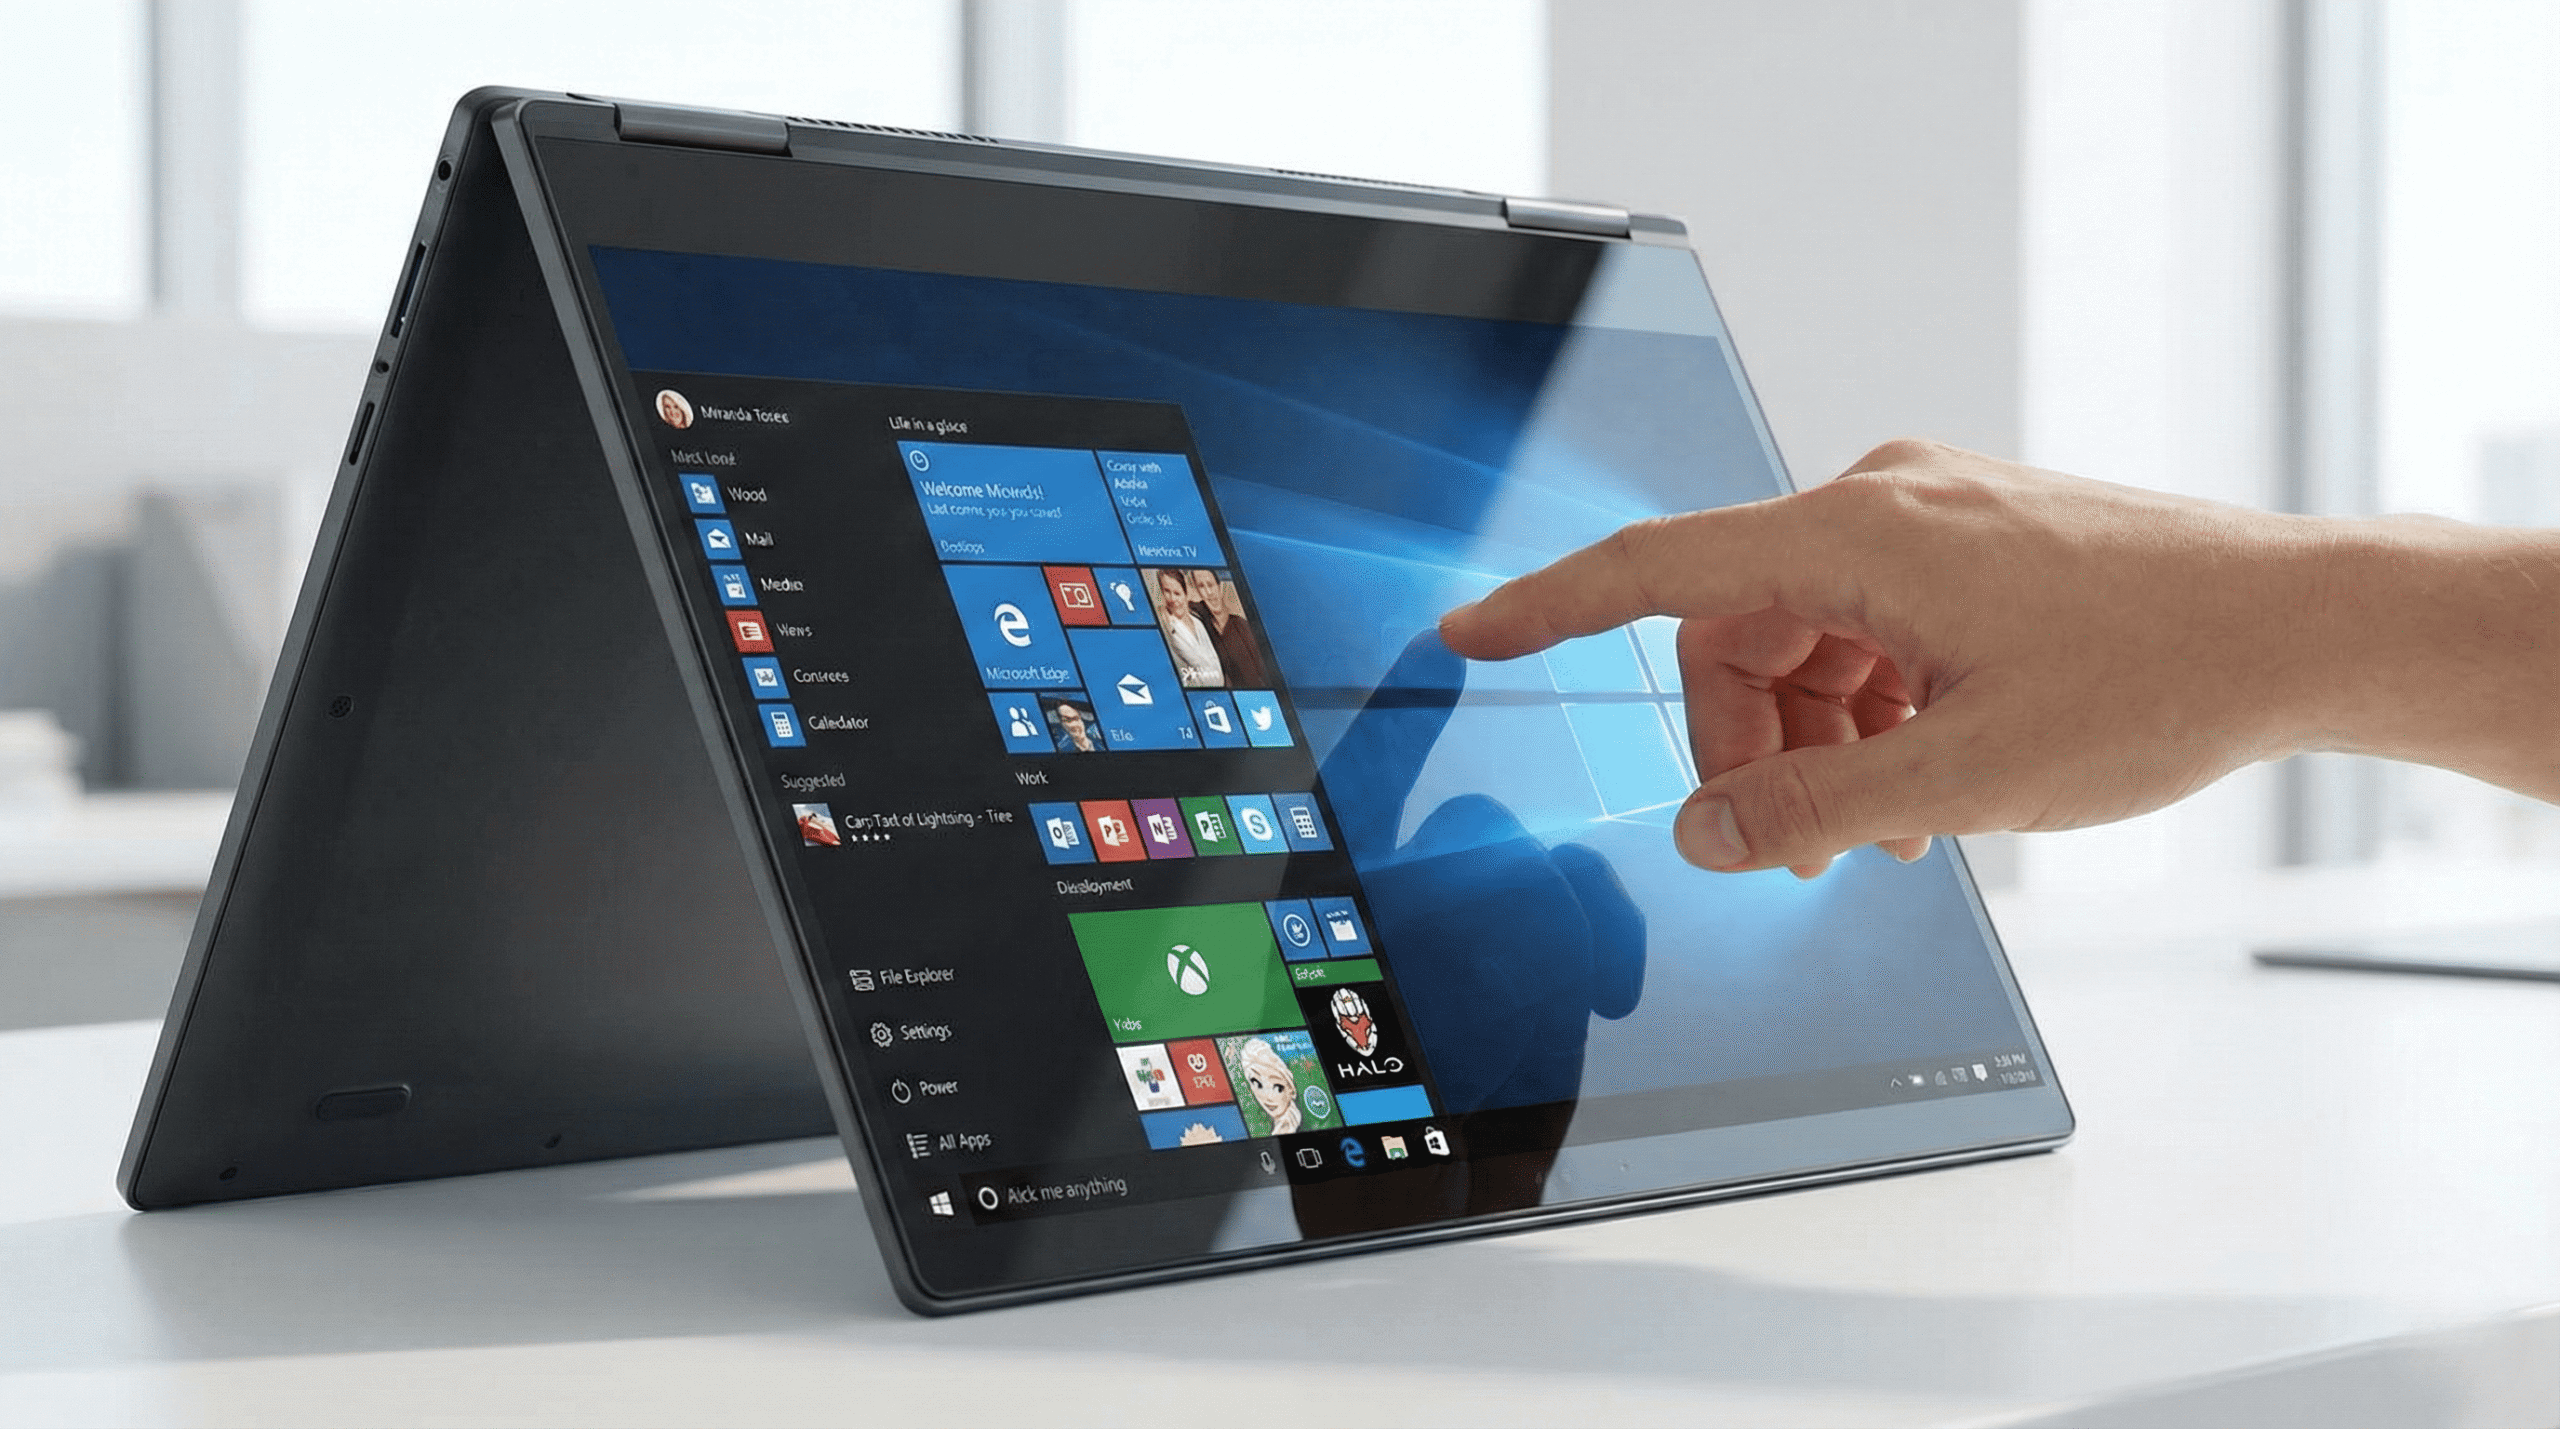
Can I use my Lenovo Yoga without the touchscreen?
Absolutely. Your laptop will function normally as a traditional laptop—keyboard, trackpad, and mouse all work independently of the touchscreen. Many users disable their touchscreen intentionally to prevent accidental input.
How do I know if my touchscreen problem is hardware or software?
If the touchscreen stopped working suddenly (especially after an update or settings change) and Device Manager shows the touch driver, it’s likely software. If it gradually became unreliable, works in some screen areas but not others, or coincides with physical damage, hardware is more probable.
Does Lenovo cover touchscreen issues under warranty?
If your Lenovo Yoga is still under warranty and the touchscreen failure isn’t due to physical damage or accidental damage, Lenovo should cover the repair. Contact Lenovo Support with your serial number to verify coverage and arrange service.
How much does it cost to replace a Lenovo Yoga touchscreen?
Touchscreen replacement costs vary based on your specific Yoga model and whether you need the digitizer only or the full display assembly. Professional repair typically runs between $150-$350 depending on the model. DIY replacement is possible but risky—the ribbon cables and connectors in Yoga laptops are delicate and easy to damage.
Can a cracked screen cause touchscreen to not work?
Yes. Even small cracks can sever the touch-sensitive circuits in the digitizer layer. Sometimes the display continues to work perfectly while touch is completely non-functional. If you have any visible cracks, the digitizer likely needs replacement.